


Amperage controller: what is it?
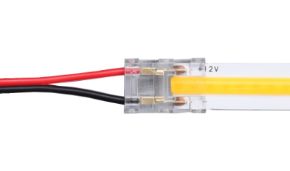
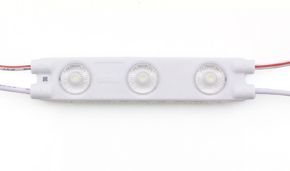
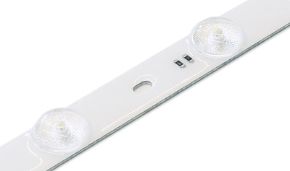
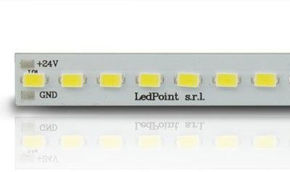
Today we’re talking about amperage. Before diving into the technical specifications of controllers, it’s essential to build a solid understanding of the physical and electrical concepts that underpin the operation of any LED system. Amperage—often confused with other parameters—is the quantity that measures the flow of electric charges and determines its intensity within a circuit. In any electrical system, three quantities are inextricably linked by Ohm’s Law and the fundamental power relationship. Voltage (Volts, V) represents the "pressure" or force that pushes electric charges through a circuit. In low-voltage LED systems—such as those using 12V, 24V, or 48V strips—this pressure is reduced for safety and efficiency reasons. Current (Amperes, A) measures the amount of electric charge flowing past a point in the circuit per second and determines a device’s amperage. Think of it like water flow in a pipe: at the same pressure (voltage), a wider pipe (lower resistance) allows more water (current) to pass. Finally, Power (Watts, W) is the product of voltage and current (W = V × A) and represents the rate at which electrical energy is converted into another form—in our case, light (and heat). For an LED strip, power per meter (W/m) is the key specification found in technical datasheets—for example, 14.4 W/m for the F52-40s-0608H2 or 15.5 W/m for the COB strip mentioned on Ledpoint’s website. Ohm’s Law (V = R × I) states that the voltage (V) across a component equals its resistance (R) multiplied by the current (I) flowing through it. In the world of LED strips, this law helps us understand a fundamental behavior: at a fixed supply voltage (e.g., 24V), an LED strip with higher power (more LEDs or higher-performance LEDs) will have lower overall resistance, allowing more current (higher amperage) to flow. This is why a 15.5 W/m strip draws more current than a 14.4 W/m strip when both are powered at 24V. Understanding this relationship is the first step toward correctly sizing all upstream components and calculating amperage. The controller—often called an LED driver—is the intelligent heart of the system; knowing its amperage is crucial. Its primary task isn’t just turning LEDs on and off, but above all delivering a constant and stabilized current to the LED strip, regardless of minor fluctuations in input voltage. LEDs are constant-current devices: their brightness and lifespan critically depend on the stability of the current powering them. A high-quality controller converts the alternating current from the mains (230V AC) or the direct current from a power supply (e.g., 24V DC) into a perfectly regulated direct current suitable for delicate LED chips. Its current-handling capacity, measured in Amperes (A), is the most important selection parameter. There are several control technologies, each with implications for amperage. Pulse-width modulation (PWM) controllers are the most common and work by rapidly switching the current to the LEDs on and off at a very high frequency, varying the “ON” time to adjust perceived brightness. A PWM controller must be sized based on full-load amperage (100% duty cycle), even if it’s typically used at reduced brightness. Dimmable controllers using protocols (0–10V, DALI) or smart controllers (Wi-Fi, Bluetooth, Zigbee) integrate additional regulation circuits, but their final output to the LEDs must still respect the maximum current limit. Choosing a controller with a nominal amperage lower than required—relying on never using it at full capacity—is a design error that stresses the component and drastically reduces reliability. Let’s move from theory to practice. Calculating the amperage required for your project is a simple mathematical operation—but it demands precision in gathering accurate data and accounting for all relevant factors. An accurate calculation is the best insurance against future problems. The fundamental relationship between power (W), voltage (V), and current (A) gives us the universal formula: Practical Example: Suppose you want to install 8 meters of a COB LED strip rated at 15.5 W/m, powered at 24V. A common—and potentially disastrous—mistake is choosing a controller whose nominal amperage exactly matches the calculated value. Electronic components operate in real-world conditions, with manufacturing tolerances, temperature variations, and possible current spikes. The golden rule of sizing calls for adding a 20–30% safety margin to the calculated amperage. This “headroom” ensures the controller operates comfortably below its maximum limit, reducing thermal stress, improving efficiency, and exponentially extending its operational life. Applying this rule to our example: For professional projects, additional factors may cause actual current draw to differ from theoretical calculations: Undersizing or excessively oversizing a controller isn’t just a minor “inaccuracy.” These are errors with measurable technical, economic, and safety consequences. Let’s examine both scenarios in detail, supported by lab analyses and industry reports. This is the most frequent and dangerous mistake. It occurs when the current required by the LED strip exceeds the controller’s continuous rated capacity. The consequences cascade inevitably. A controller forced to deliver more current than it was designed for experiences a dramatic increase in internal losses—especially in power transistors (MOSFETs) and inductor windings. These losses turn into heat. For every 10°C increase in junction temperature above rating, the lifespan of a semiconductor component is halved (Arrhenius Rule). An undersized controller constantly operates at 70–90°C instead of the intended 40–50°C, accelerating degradation exponentially. Beyond heat, an overloaded controller can no longer regulate current properly. The result is an unstable output characterized by ripple and high-frequency electrical noise. This instability directly causes: Although less critical than undersizing, choosing a controller with far more amperage than needed also has tangible drawbacks: Armed with an understanding of these risks, we can define a systematic methodology to select the perfect controller for any application—from home installations to complex architectural projects. Output amperage is the primary—but not the only—parameter. A professional choice evaluates all these aspects: Follow this logical checklist to ensure no critical step is missed: For large-scale, complex, or critical projects, basic calculation with margin isn’t enough. Advanced design and protection strategies are essential. Instead of using a single massive controller for 30 meters of LED strip, professional practice involves splitting the total load into multiple segments, each managed by a dedicated, reasonably sized controller. This “zoning” strategy offers multiple advantages: Professional designs incorporate passive protections to safeguard the investment: Use this interactive tool (which you can replicate in a spreadsheet) to quickly determine the amperage your controller needs. Enter your values in the yellow fields. Instructions: Replace the bracketed values with your project’s specifics. Calculation: Choose a controller with a nominal amperage equal to or greater than [A_recommended] A. Controller amperage isn’t just another spec—it’s the foundation upon which the safety, performance, and longevity of an LED installation rest. Neglecting its proper sizing undermines the very core of your project. Always remember these three fundamental pillars: Spending a few minutes on accurate calculation and a few extra euros on a high-quality, slightly oversized controller will undoubtedly save you from future problems, replacement costs, and potential hazards. The light you design today—supported by a solid electrical foundation—will shine flawlessly for years to come.Amperage: what are volts, watts, and amperes?
Amperage: Ohm’s law and its application
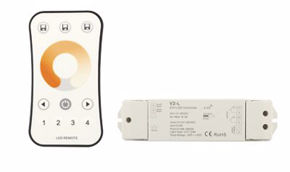
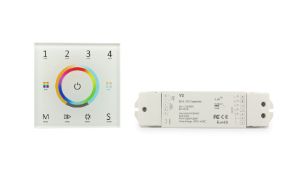
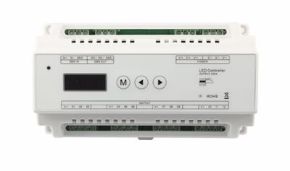
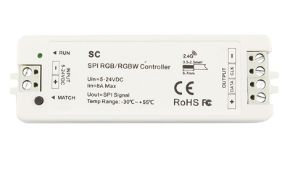
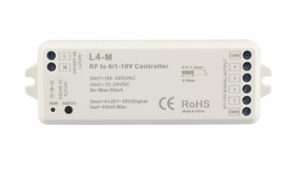
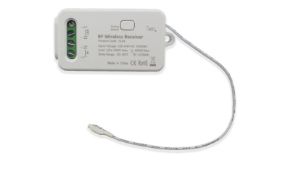
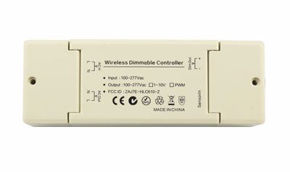
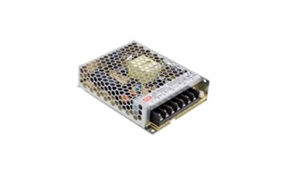
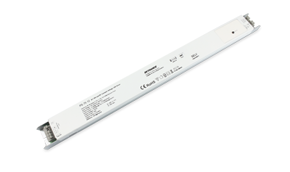
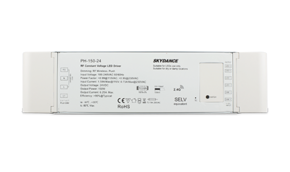
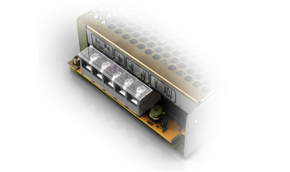
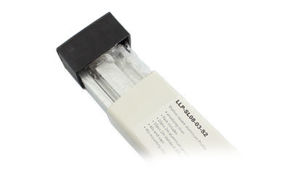
Amperage and the role of the controller (driver) in an LED system
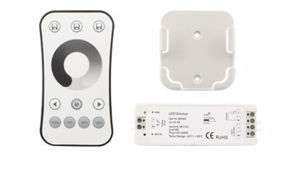
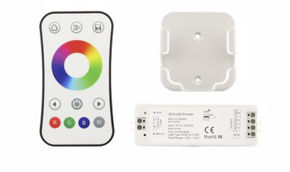
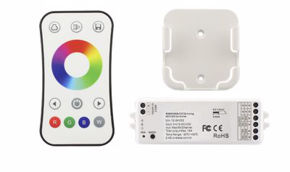
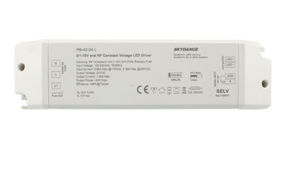
Types of controllers: PWM, dimmable, and smart
Calculating amperage for LED strips
Basic amperage calculation formula
Amperage (A) = Total power (W) / Supply voltage (V)
This formula appears deceptively simple. Applying it correctly requires using the right values. For an LED strip installation, follow this procedure:
Total Power = 15.5 W/m × 8 m = 124 Watts
Required Amperage = 124 W / 24 V = 5.17 Amperes
The controller must therefore support at least 5.17A on its output.The critical importance of safety margin
Amperage with Margin = 5.17 A × 1.25 (25% margin) = 6.46 Amperes.
In this case, the appropriate choice would be a 6.5A or 7A controller, rather than a 5A or 5.5A model.Factors influencing real-world current draw
Risks and consequences of incorrect amperage
Undersizing (controller too weak)
Overheating and acute thermal degradation
Overload (% above nominal) Approx. junction temp. rise Estimated lifespan reduction Short-term observable effects 10% 15–20°C 75% Controller hot to touch; possible LED dimming. 25% 30–40°C 90–95% Burning plastic smell; visible flickering; intermittent thermal shutdowns. 50% or more Over 50°C Imminent failure (hours/days) Thermal shutdown or component melting; risk of smoke or PCB fire.
System instability and LED malfunctions
Excessive oversizing (controller too powerful)
Sizing scenario Typical system efficiency Failure risk (5 years) Relative total cost (purchase + energy) Reliability rating Undersized (e.g., 5A for 5.2A load) Low (<75%), degrading High (>60%) Very High (frequent replacements) INSUFFICIENT Correct with margin (e.g., 7A for 5.2A load) Maximum (>88%) Very Low (<5%) Optimal EXCELLENT Extreme oversizing (e.g., 20A for 5.2A load) Medium-Low (~75%) Low (<10%) High (hardware cost + reduced efficiency) FAIR/POOR
Controller selection and sizing
Selection parameters beyond amperage
Controller selection flowchart
Optimization and best practices for professional projects
Load splitting: using multiple or zoned controllers
Additional electrical protections
Practical amperage calculation for your project
Total Power = (1) [W/m] × (2) [m] = [W_total] Watts
Base Amperage = [W_total] W / (3) [V] V = [A_base] Amperes
Recommended Controller Amperage (with 25% margin) = [A_base] A × 1.25 = [A_recommended] Amperes
Amperage: final recommendations